
How to locate Marketplace Details - Redbox → Marketplaces → Select a Marketplace → Details
The Marketplace details tab holds the company details for the marketplace, it will also allow you to set up various features which will help to configure your ordering website and app according to your marketplace requirements.
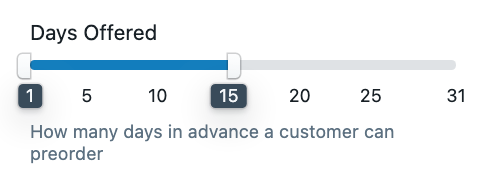
Allow preorders up to 31 days
By default days offered for preorders are set to 5 days in advance but you can extend this to 31 days in advance to support other e-commerce models. Note that all orders must be accepted within 5 days, so that the card authorisation is not lost.
How to enable Allow Preorders up to 31 days
How to locate Allow Preorders: Redbox → Marketplaces → Details → Features → Allow preorders up to 31 days
-
If enabled in marketplace settings, you can select up to 31 days on 'Days offered' in the 'Fulfilment Times' side box of an outlet details page.
-
If not enabled in marketplace settings you can only select up to 5 days in the Days Offered slider on the outlet settings.
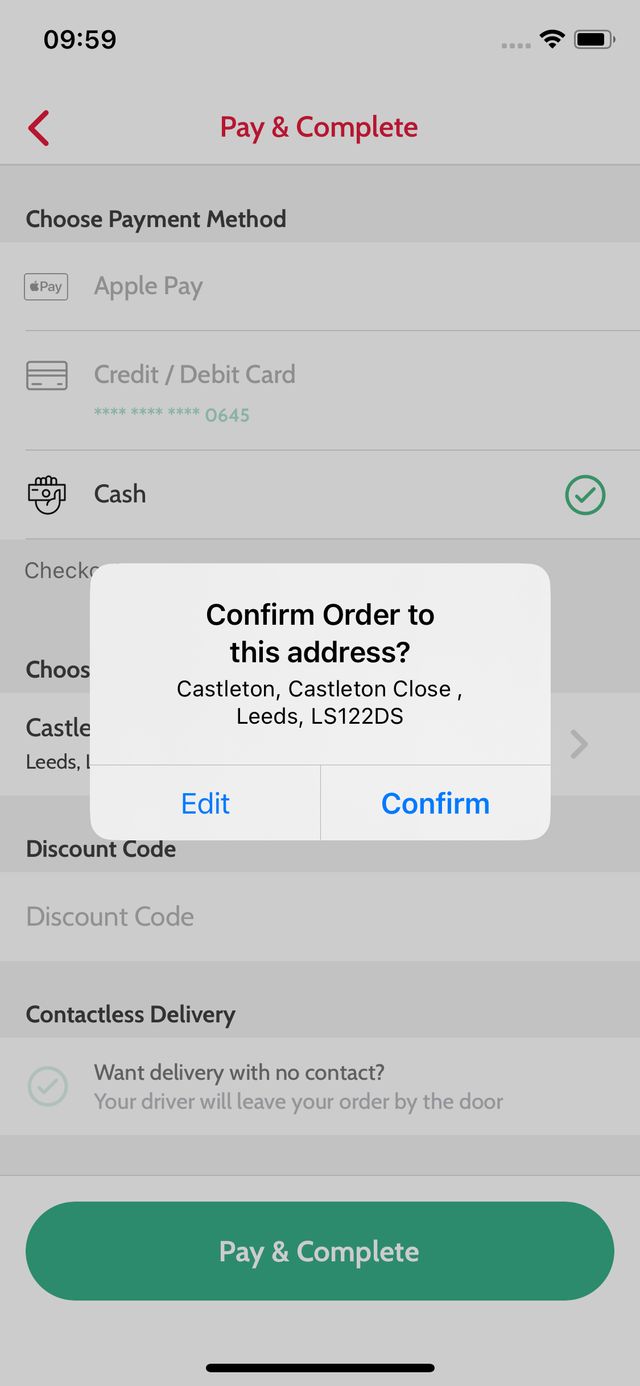
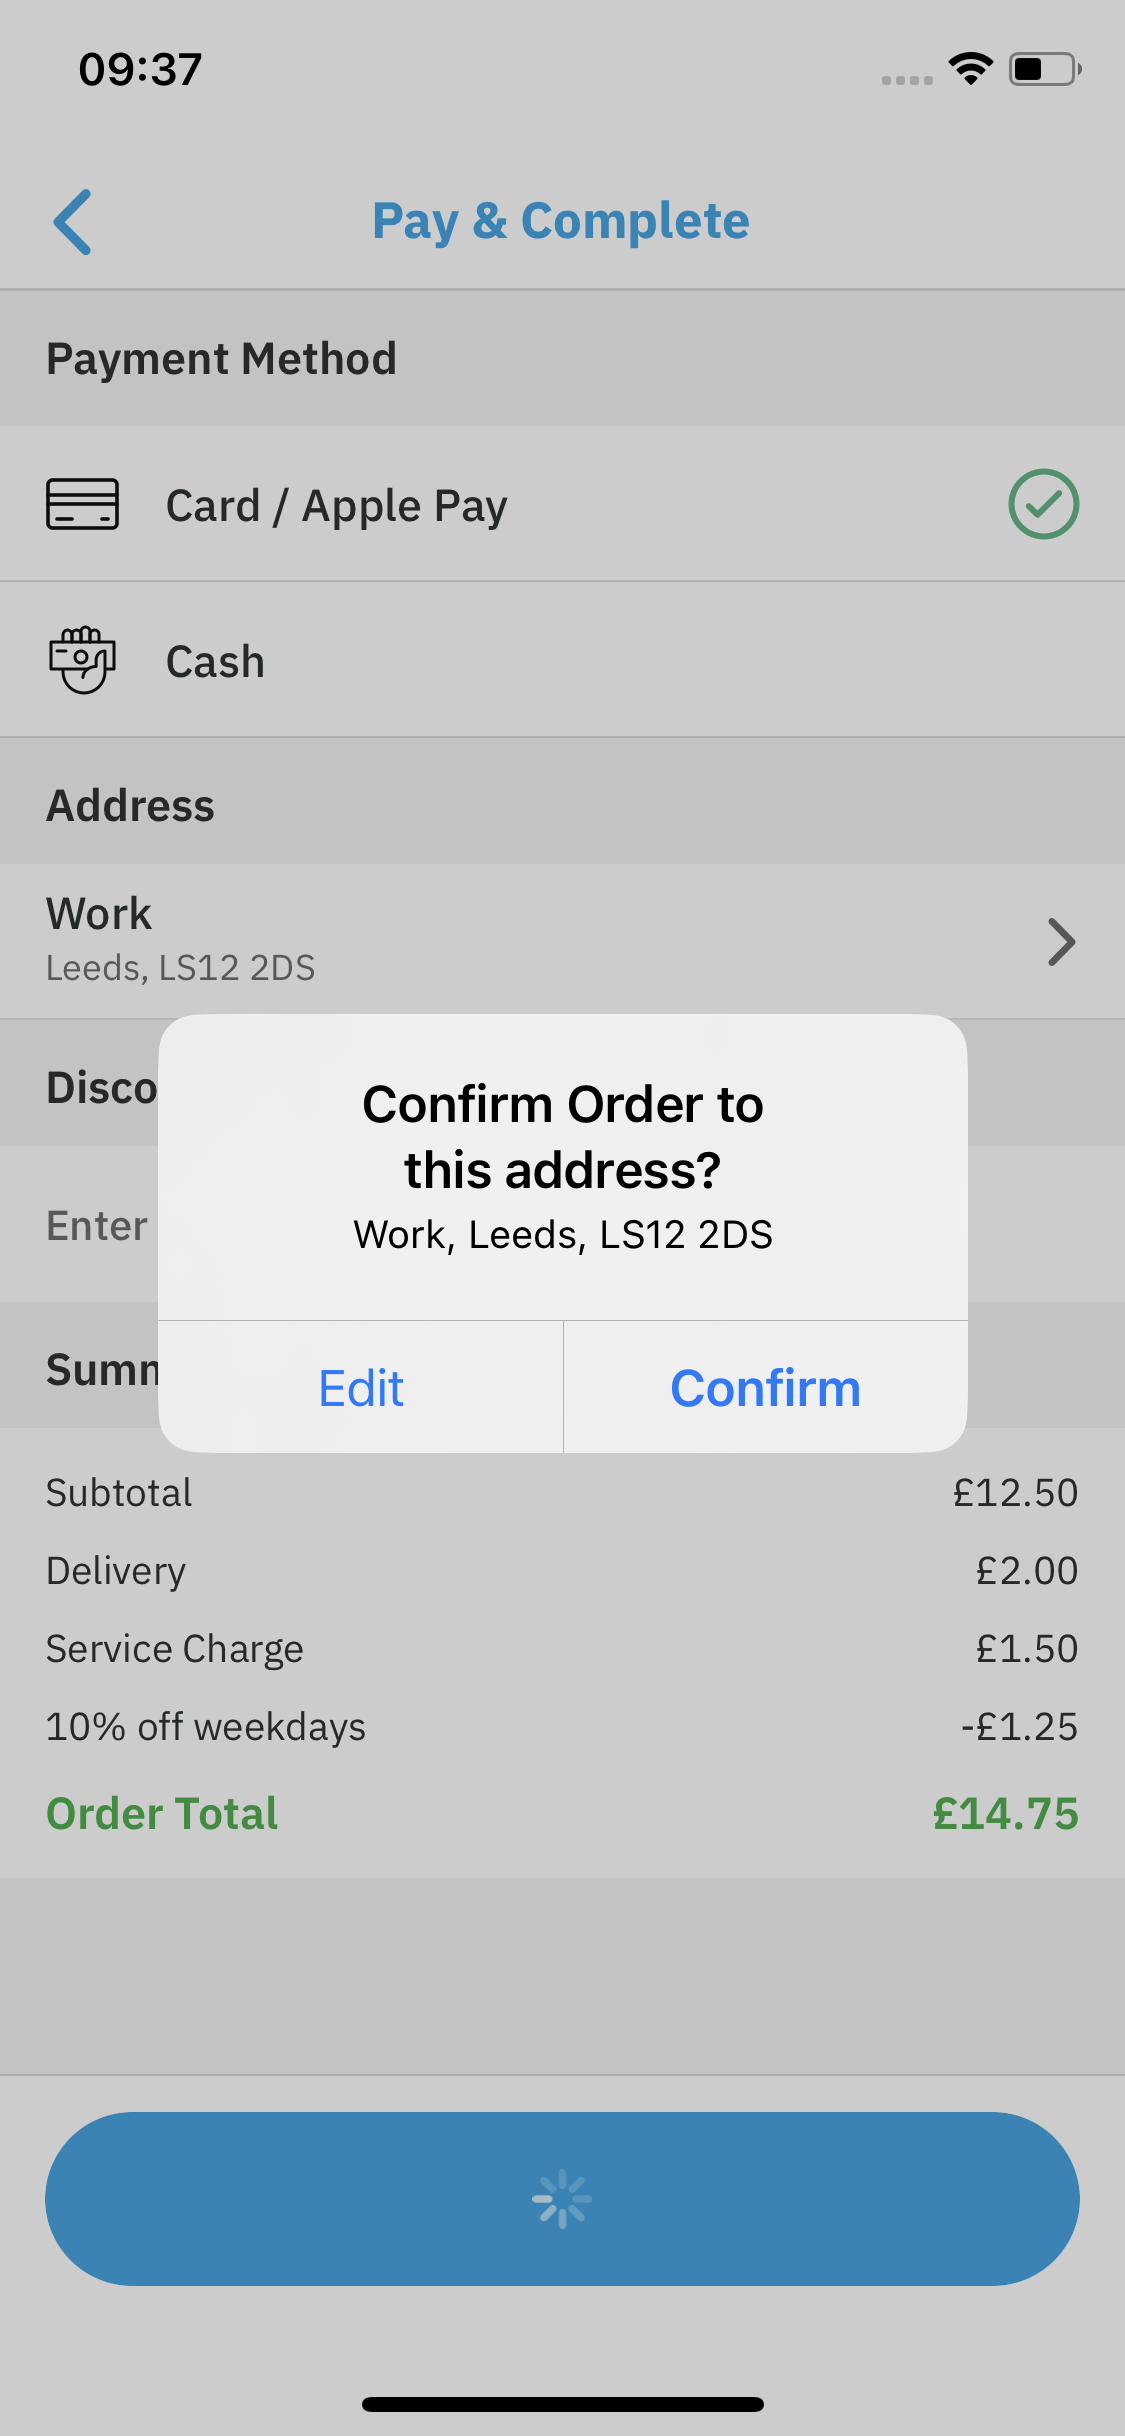
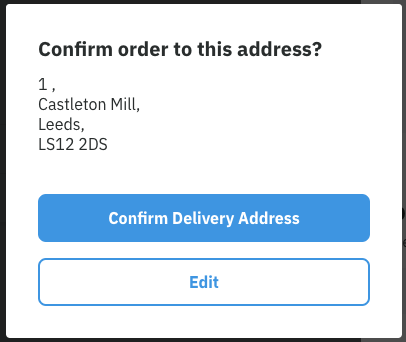
Confirm Address at Checkout
Confirm address at checkout is only available for Web and Mobile 4.0+ customers.
How to locate Confirm Address at Checkout: Redbox → Marketplaces → Details → Features → Confirm Address at Checkout
Customers will be prompted to confirm the address selected during checkout when enabled.
Single Item Order Notes
Single Item Order Notes allow customers to add individual order notes to specific menu items.
Pending Order Alerts
Beta - Please contact us to Beta test this feature.
‘Pending Order Alerts’ helps marketplaces and their outlets reduce the number of auto-rejected orders by providing outlets with timely notifications on pending orders. ‘Pending Order Alerts’ notify outlets via SMS when they have an order in the pending status that is due to auto-reject within 10 minutes.
When ‘Pending Order Alerts’ are enabled on a marketplace, all associated outlets can provide their ‘Escalation Contact’ number. Only outlets which have provided an ‘Escalation Contact’ will receive the SMSs on pending orders due to auto-reject within 10 minutes.
The outlet will receive the following SMS message from the marketplace:
‘Marketplace Name’ has a pending order. Please accept this order immediately as it will auto-reject in 10 minutes.
How to locate Escalation Contact: Redbox → Businesses → Select a Business → Outlets → Select an Outlet → Details → See Escalation Contact

-
Request access to feature beta program.
-
Ensure the outlet provides an escalation contact number. This is required to enable the feature and should be added under the Outlet Details tab.
-
Once enabled, SMS notifications will be sent to the provided escalation number. These notifications will alert the outlet 10 minutes before a pending order is due to be auto-rejected.
-
Each order will receive only one SMS.
-
Outlets without an escalation contact number will not receive SMS notifications.
How to enable Single Item Order Notes
How to locate Single Order Item Notes: Redbox → Marketplaces → Details → Features → Single Order Item Notes
Outlet Opening Status Wording
This feature is only available for the ordering Web and Mobile 5.0+
How to locate Outlet Opening Status Wording: Redbox → Marketplaces → Details → Settings → Business Type.
When 'Restaurant; is selected the Outlet Opening Status Wording selection will be visible.
Restaurant marketplaces can display ‘Open, Preorder and Closed’ or ‘Order, Preorder and View’ as opening statuses on the ordering website. This wording will be displayed on the opening status button on the outlet cards on the home page and outlet list.
Categories Management
Only users with a Partner access level will be able to manage marketplace categories.
Category emoji/images are currently only displayed on apps.
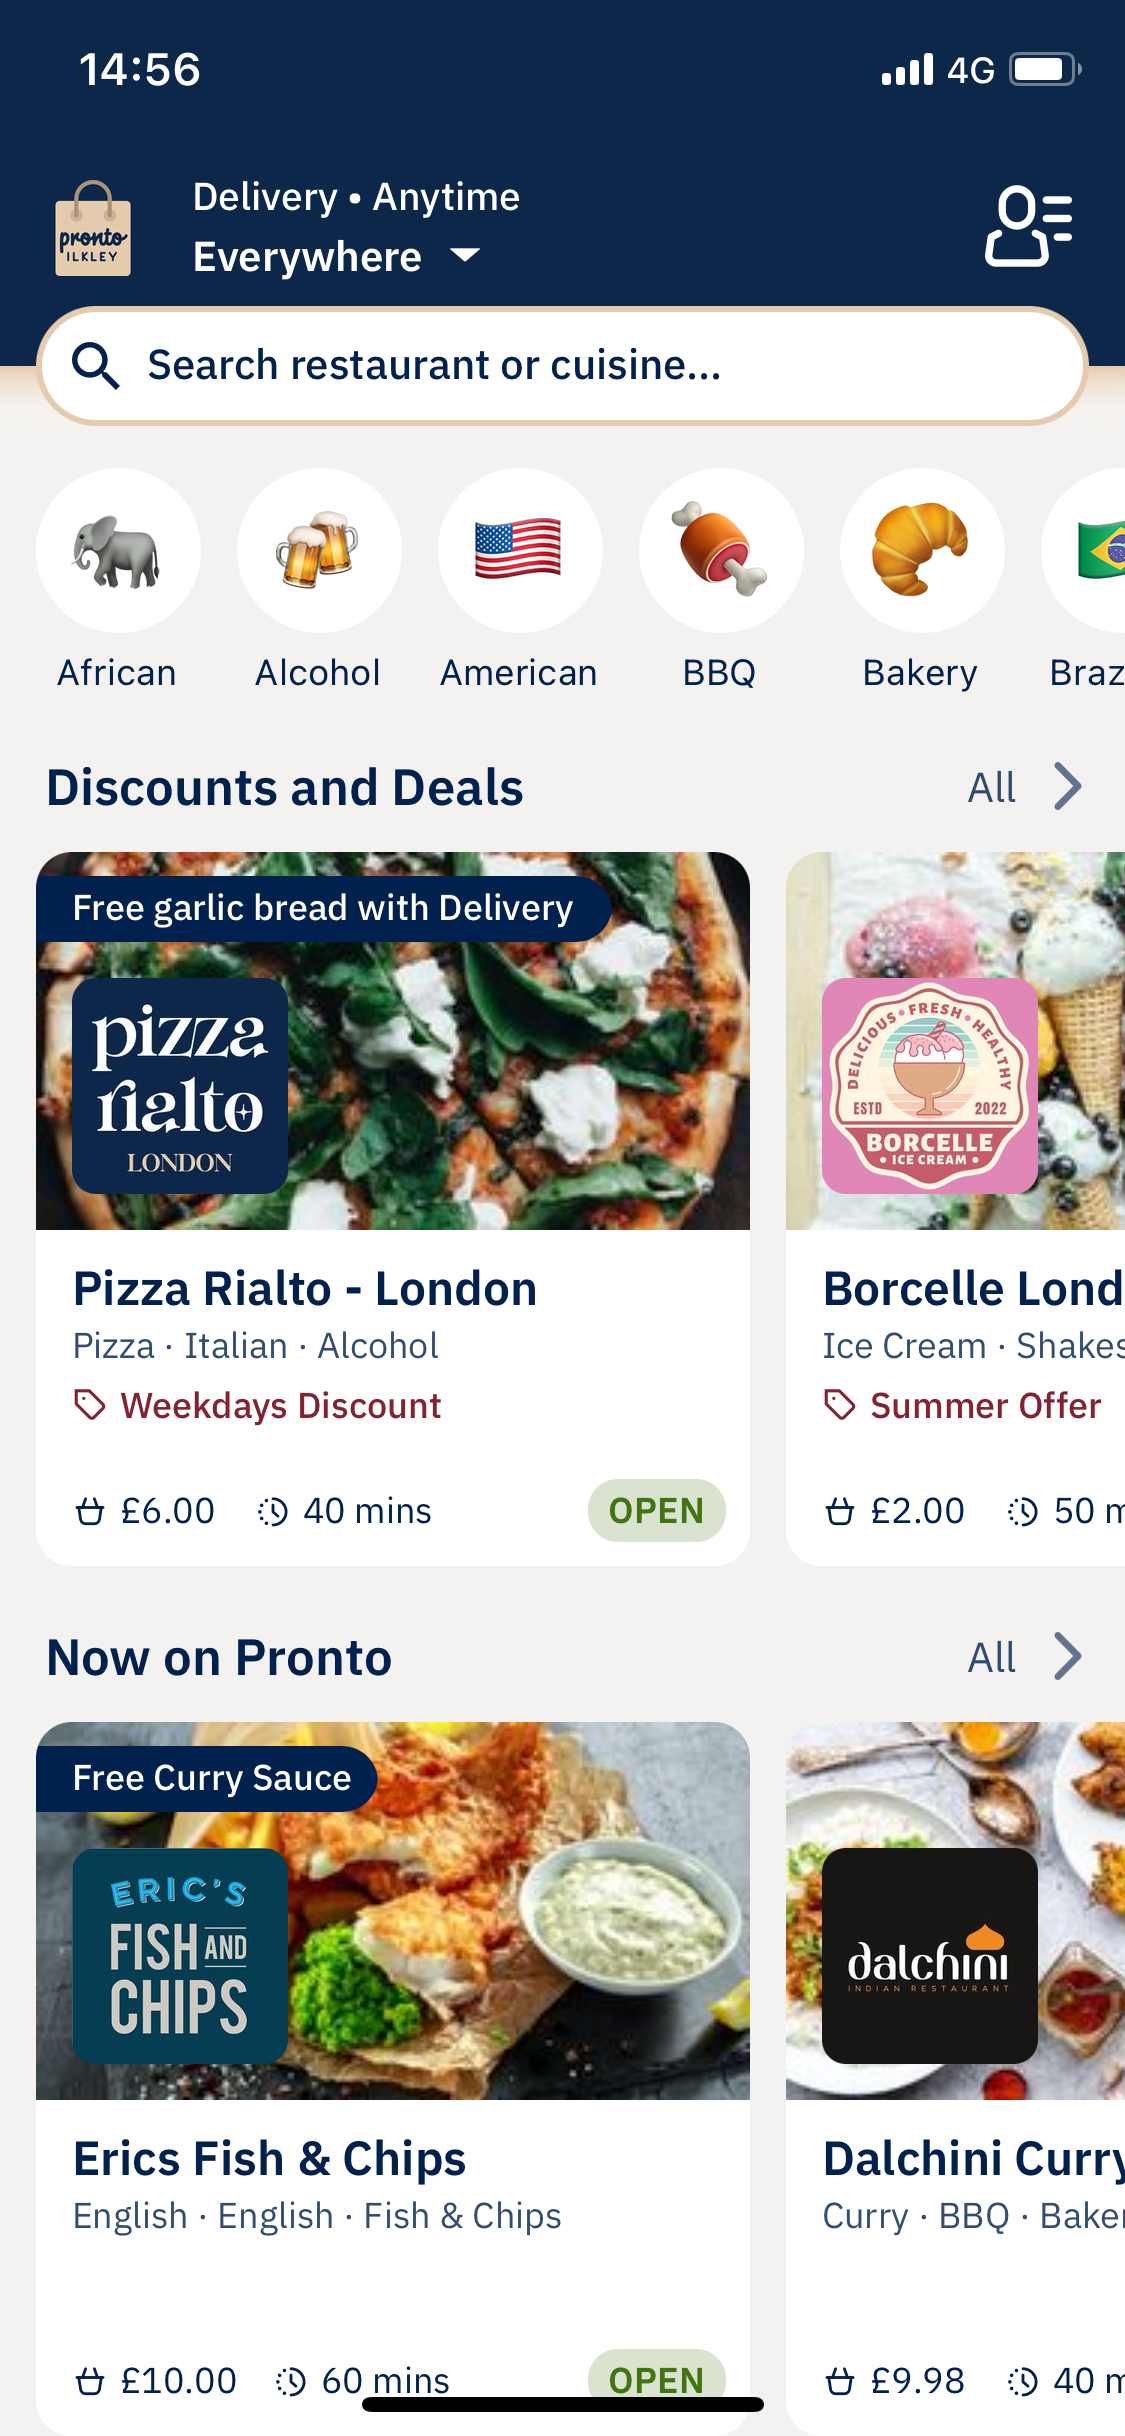
Each of your businesses on Redbox can be assigned categories which your users can select to filter your business list. For example a takeaway may have the categories Burgers, BBQ, Desserts and Drinks. This means a user can filter the outlet list to Burgers and see all the outlets that offer this category. If your marketplace is limited to a certain type of businesses, you can limit the categories available to be assigned in management.

Here is an example of a takeaway marketplace using emoji categories:
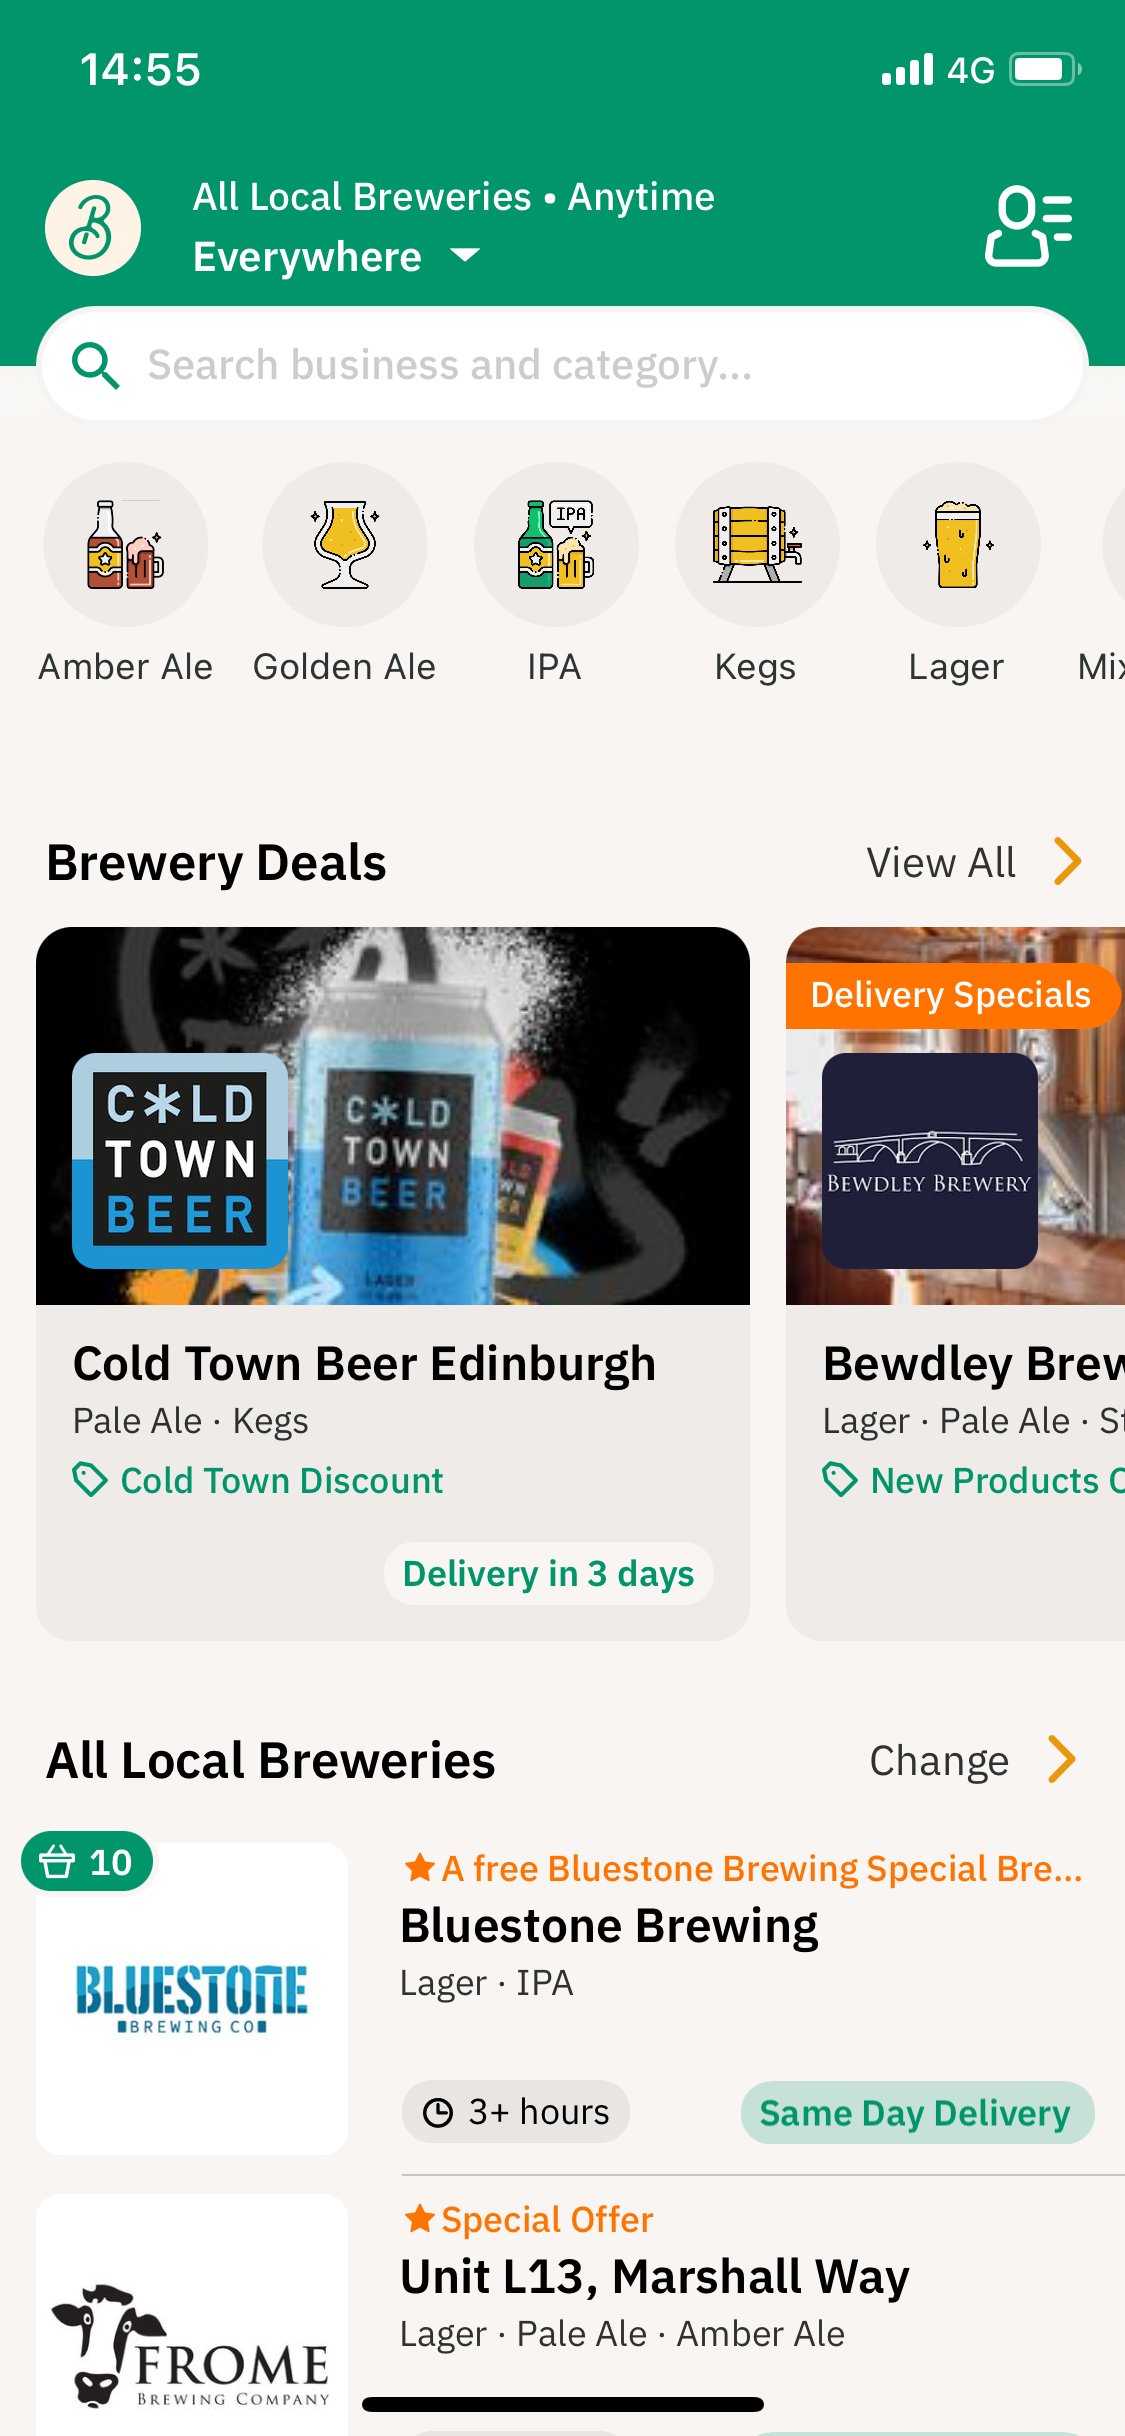
We can set up any categories your marketplace needs for you, and if your marketplace is unique you may wish to use images instead of categories for your marketplace. Here is an example of a beer marketplace with custom categories and images:
Set Up Categories for Website
Categories for Web are configured on a Business Segment, to find out more visit our Website Business Segment guide.
Set Up Categories for Your Marketplace
These settings on the marketplace can determine how the categories display on the app and which categories can be used on the marketplace’s businesses.
Select Display Type
How to locate Categories: Redbox → Marketplaces → Details → Categories
-
Under Display Type, you can choose Image or Emoji
-
Regardless of what display type you choose, you will get a popup message - 'NOTE: If any categories don't contain the selected display type, a default one will be used’
The app will use 📦 for business type and 🍽️ for restaurant type as a default if there is no image or emoji assigned to your chosen category.
Setup Limit Categories
By enabling the ‘Limit Categories’ function, the marketplace will define which categories will be visible to the business. If ‘Limit Categories’ is disabled, the businesses can select from the entire catalogue of categories.
If you have an existing marketplace which has outlets which have already selected from the categories catalogue, after enabling Limit Categories, your team will need to remove each category which is not listed in your limited categories.
Removing the Categories Bar from the App
How to locate the Categories Bar: Redbox → Marketplaces → Apps → App Config → Hide Categories Bar
To remove the categories bar from the app, check the ‘Hide Categories Bar’ box.
Categories cannot be removed from the website.
Set Up Categories for Your Business
How to locate Business Categories: Redbox → Business → Details → Categories.
Selecting categories depends on the above marketplace settings. The business can select from all the categories in the catalogue, unless the marketplace has enabled ‘Limited Categories’, in which case the business can only select a limited amount of categories.
Settings
Receipt Logo - This is the image which will appear on the head of every receipt. There are a few requirements for this image:
-
Black and white image.
-
The dimensions should be up to 734W x 437H.
-
The file should be a maximum of 1MB in size.