Before activating your marketplace, there are a few steps to complete to ensure your setup is ready for the latest layout and features. You can configure your marketplace and outlets in advance so everything is in place when you're ready to go live.
In the Details tab of your marketplace, make sure the following settings are in place:
URL Path
This is displayed in the URL for your outlet list and menu view. This should be plural and match the type of outlets you have on your marketplace, for example, takeaways, breweries, restaurants, businesses, and shops. If you chose to use ‘takeaways’ your URLs would display as follows:
-
yourdomain.co.uk/takeaways
-
yourdomain.co.uk/takeaways/{outletId}/{outletName}/menu
Ordering Mode
Set this to ‘Postcode’. This enables customers to search via postcode or use location services on the homepage to find nearby outlets. List-style marketplaces are no longer supported, and Single Outlet support will be available soon.
Basket Layout
Configure where the deals and offers section of the basket will be displayed.
-
Top - The deals and offers section will appear above the basket's service component.
-
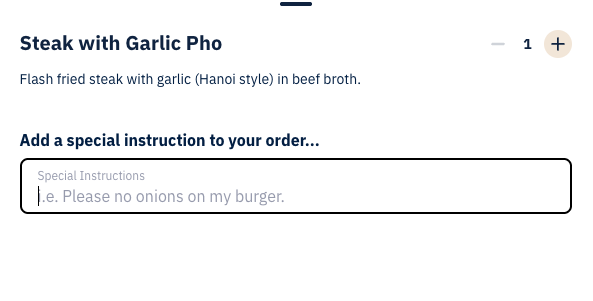
Bottom - The deals and offers section will display below the 'Add Order Note' input section of the basket.
Outlet Lists
This is your customisable ‘All Outlets’ title that is displayed in two locations on your website:
-
As the title of the ‘Service’ picker on the service component bar, when all services are selected (Delivery / Collection / Table Service).
-
On the outlet list heading, when all services are selected in the service picker.
Filtering
Configure which outlets will return when the ‘When’ picker is set to ‘Now’ on the service component bar:
-
Orderable Today - This will return all outlets which are available for ordering today, including outlets which are closed but offer preordering for later today.
-
Currently Open - This will return all outlets currently within their opening times and offering either ASAP or Preordering.
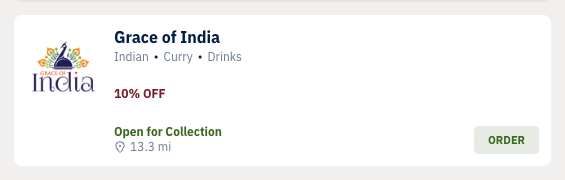
Discount Style
Select how discounts appear on the outlet cards on the outlet list. Choose between:
-
Normal Text
-
Lozenge

-
Service Defaults - These are the default settings for the service component bar before a customer makes a selection. The options are:
-
Fulfilment (Service) - All, Delivery, Collection, Table.
-
Time Picker (When) - Anytime, Now, Schedule.
-
Location (Where) - Saved Addresses, Your Location, Postcode, Everywhere.
-
The most common settings are Delivery, Anytime, Everywhere, or All, Anytime, Everywhere. If you choose All, Anytime, Everywhere you can also opt to redirect new customers to the outlet list when they first land on the website, rather than them seeing the homepage first. This means new customers will not have to enter a postcode or enable location services to see your outlet list.
Once a customer has visited your homepage and set a location for their search, the website will automatically direct returning customers to the outlet list and skip the homepage.
To find out more about setting service defaults, visit the Website Service Defaults guide.

-
Checkout Message - The checkout message section, provides some instructions and guidance to customers at different parts of the ordering process. These display as helper text in the field to help your customers understand what the field is for. If you don't set these then default text will display, but you can set custom text to suit your marketplace type if you wish. The checkout message can be used to help your customers understand how the payment will show on their bank statement and this message is optional.
Themes & Branding
In the ‘Website’ tab of your marketplace, you can set the brand colours that appear in the different parts of the ordering website and app. To set your site’s theme, select ‘Edit Theme’. This should be done before activating your marketplace. Where the theme asks for a dark or light colour, ensure you provide a suitable light or dark colour, as these colours are used to ensure there is enough contrast when text is displayed on top of another colour.
To find out more information on your website theme, see the Theming & Branding guide.
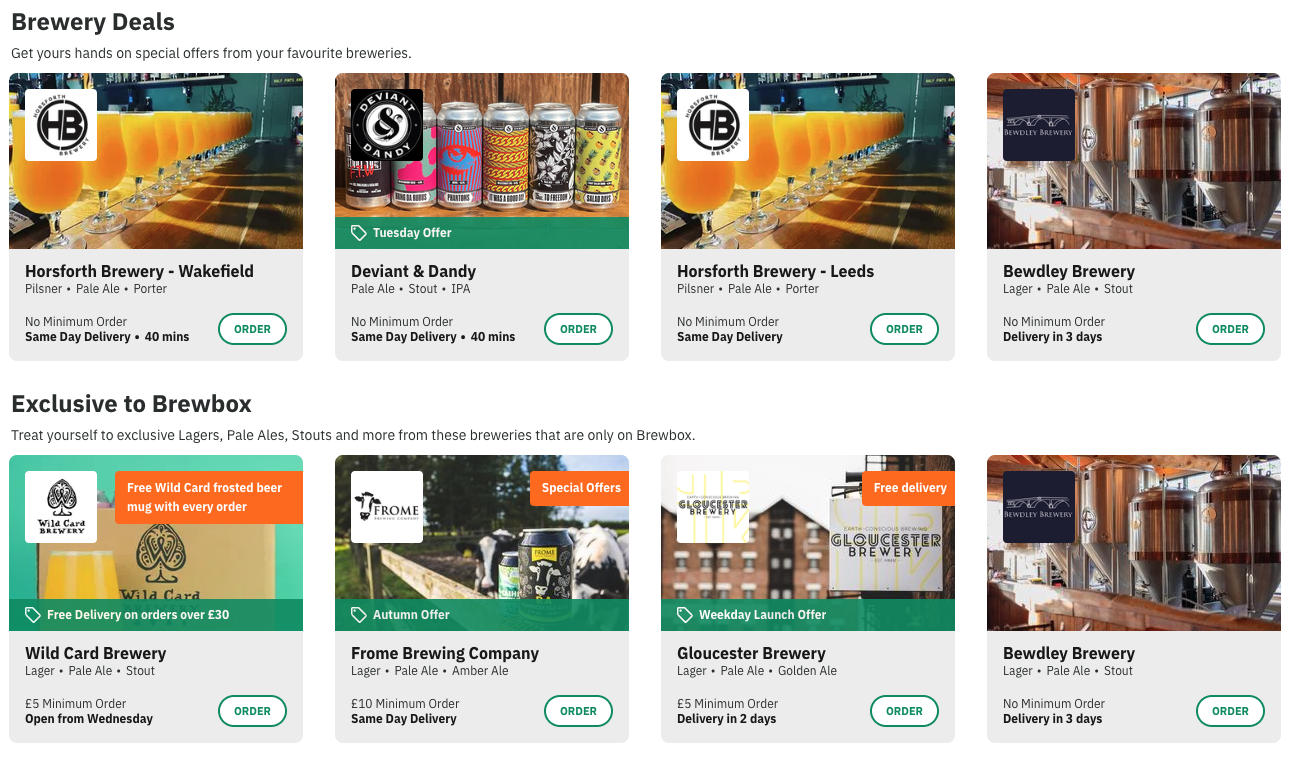
Segments
You can set up your homepage segments in advance. If no segments are configured, the homepage will automatically display a segment of your featured outlets to avoid appearing empty. Setting up segments allows you to control which outlets are highlighted and how content is structured on the homepage.
See the Segments guide for more information.
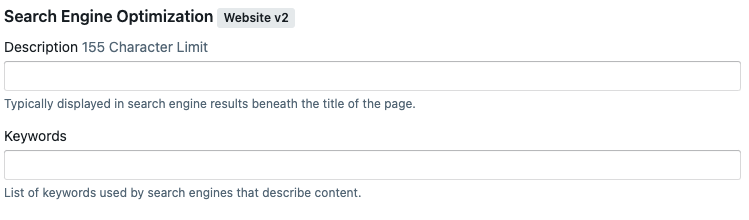
Business SEO
To improve search engine results for your businesses you can now add a description and keywords to each of your business. This metadata improves the results displayed for your businesses in search engines and improves discoverability.
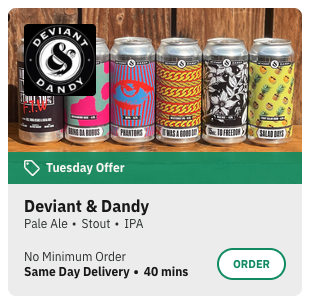
Outlet Menu Cover Images
Cover images are displayed on homepage segments and at the top of each outlet’s menu page.
Make sure to set a menu cover image for all your outlets before activating your marketplace.
This image can be added in the Details tab of each outlet.

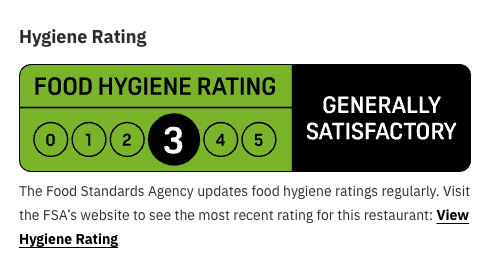
Outlet Hygiene Ratings
You can display a hygiene rating for your outlets, sourced from the Food Standards Agency. This rating appears on the outlet’s info screen and is pulled directly from the FSA website.
To enable this feature, locate the business’s FSA ID on the Food Standards Agency website, and enter it in the Details tab of the outlet within Redbox Management.