
An important responsibility for every marketplace owner is ensuring that each outlet’s menu page is set up clearly and effectively. A well-structured and visually appealing menu can significantly influence customer purchasing decisions.
You can find detailed instructions on creating and editing menus in our guides:
This document offers more practical tips to help you optimise your menus for maximum impact - supporting increased customer downloads and driving more sales.
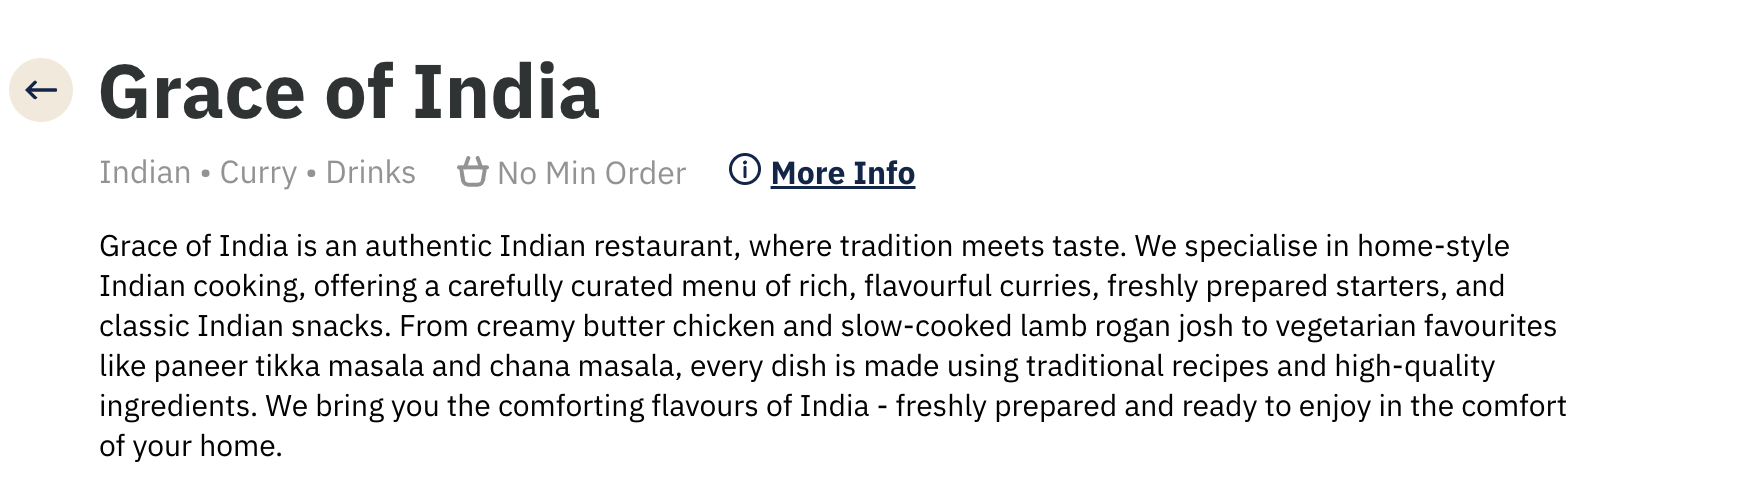
The Grace of India menu page serves as a good example of effective menu presentation.
Outlet summary
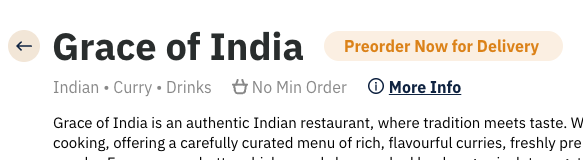
Every outlet should include an 'Outlet summary' - a short and engaging summary of what they offer. This appears underneath the outlet name on the outlet menu page. You can input this on the 'Outlet Details' page in Redbox, in the 'Summary' field. Use it to highlight the outlet’s cuisine, style, or unique selling points.
Business Description
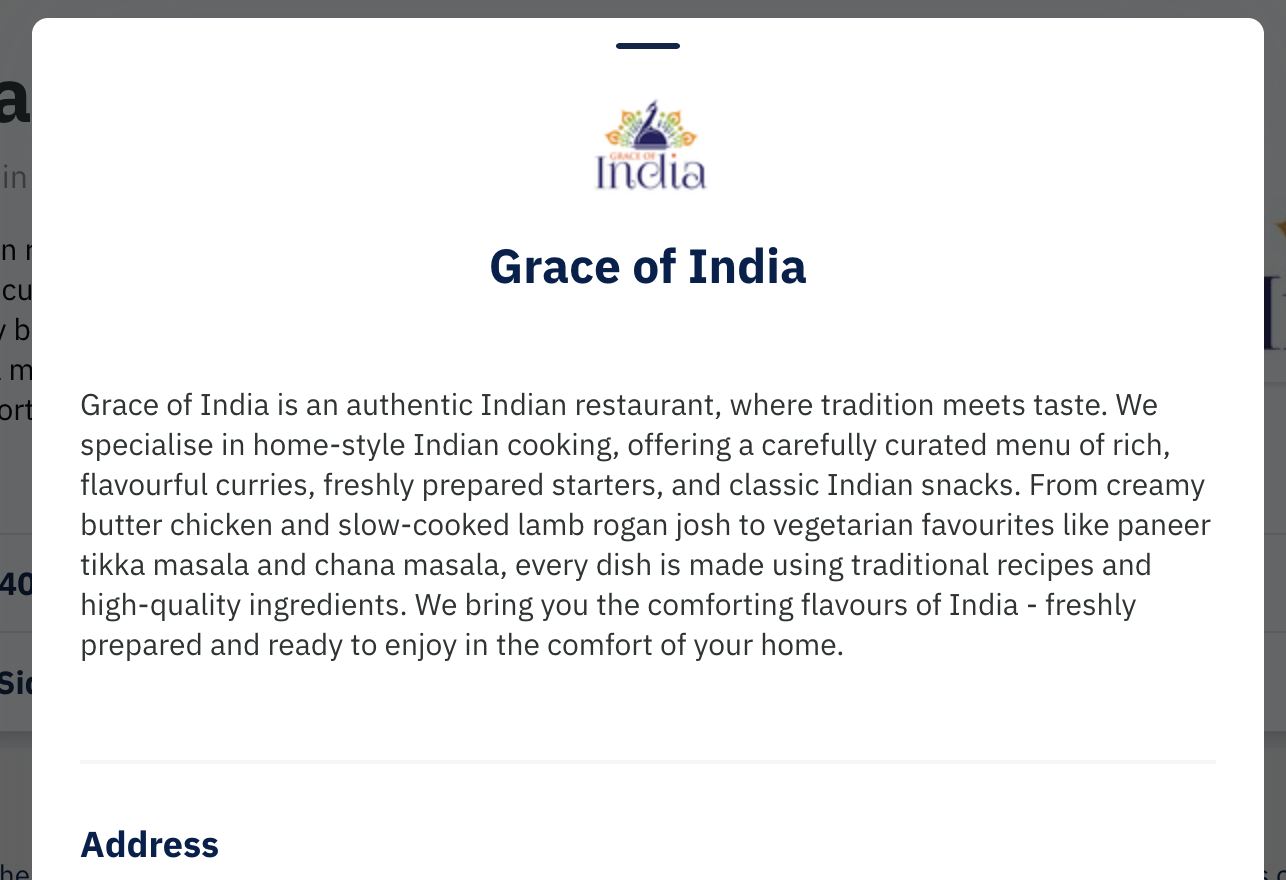
In Redbox, the ‘Business Description’ field (found on the 'Business Details' page) controls the copy shown when users select ‘More info’ on an outlet’s menu page. This content appears in a pop-up box.
You can reuse the 'Outlet Summary' here, or for businesses with multiple outlets, use a more general description that applies across all locations.
Important: Do not include links to external ordering websites, outlet phone numbers or other contact details in this section.
Outlet Cover Image
A good quality image should be uploaded for every outlet as their cover image. This displays on the ordering website and app.
Outlet cover images display in both rectangular and square formats, depending on their location.
The image should:
-
Work well with the business logo.
-
Show a range of dishes.
-
Be engaging and eye-catching.
-
Not include text.
-
Be a good representation of your brand.
-
Be a clear image, which is not blurry or cropped.
.png?cb=9caf123ac36cd32793be9eb3ecb6f02a)
.png?cb=7d5be57f3ad95ea404449de3d9653896)
Menu Item Images
Images of menu items strongly influence purchasing decisions, try to upload as many good quality images as possible for menu items.
Menu item images display in both rectangular and square formats, dependent on their location.
Additional item images can also be added to create an image carousel. Use the ‘Featured Images’ section in the ‘Edit Menu Item’ window.
Item images should:
-
Be a clear image, which is not blurry or cropped.
-
Represent the menu item well.
Resizing images
All images that are uploaded to Redbox should be set at the best quality possible within the following guidelines.
Images should be:
-
Under 1MB in size.
-
Be set to 72 dpi resolution (screen resolution).
-
Be adjusted in size proportionally to the maximum size possible within the above criteria. This will be a width of around 800-1500 pixels.
Menu Cover Images for Apps Using Grid View
Adding a menu cover image helps visually represent the contents of that menu within the app, making it more engaging for customers.
This function is only visible if ‘Image Grid’ is enabled on the ‘Menu Group Display’ section in the ‘Marketplace Apps’ page in management.
You can upload a menu cover image by selecting 'Edit/Schedule' on the menu group and opening the 'Edit Menu' window.
.png?cb=69f17ab27b1dd4ca73f86380c08ddb04)
.png?cb=de1fb3c022b9c46ed58ea71c1a94d659)
Menu Size
Extensive menus can often overwhelm customers and make it harder for them to find what they want.
To make it easier for customers to browse, keep your menus streamlined. Aim for around 10–12 main menu groups where possible, and use sub-menus to organise larger sections.
For example, the ‘Curries’ section on the Grace of India menu effectively uses sub-menus to break up a large selection into manageable parts.
As a general rule, menus with at least 25 items tend to perform better, since variety helps appeal to a wider range of tastes. This ensures customers can always find something they want, without feeling overwhelmed.
Menu Structure
Customers are accustomed to menus following a familiar structure, similar to other food delivery platforms. A typical sequence includes:
-
Meal Deals / Special Offers / New / Seasonal Specials
-
Starters
-
Mains
-
Children’s Menu
-
Sides
-
Desserts
-
Drinks
-
Soft
-
Wines
-
Beers
-
Each section can be organised further using sub-menus.
Within each category, dishes are commonly ordered as meat, then seafood, followed by vegetarian options to align with customer browsing habits.
‘New’ or ‘Seasonal Specials’ Menu Group
Featuring a ‘New’ or ‘Seasonal Specials’ menu group at the top of the menu is a great way to highlight limited-time offers or recently added items - such as a ‘Summer Menu’. Use the menu description to indicate availability or promotional details.
Positioning this group at the top ensures that returning customers see what’s new, which can help increase basket value. Including high-quality images for these items is especially important, as visuals can significantly boost interest and sales.
Boost Sales with Scheduled Menus
Your core menu is always available, but you can layer scheduled menus on top to showcase dishes at the perfect time of day. Adding a ‘Breakfast Menu’, ‘Lunch Specials’, or ‘Weekend Brunch’ makes it easier for customers to find what they’re craving, while also highlighting limited-time dishes or promotions. This not only adds variety and excitement but can also help increase orders during quieter times.
Menu Item Descriptions
Clear and concise item descriptions help customers feel confident in their selections. If a customer isn’t sure what something is, they’re less likely to order it - your text needs to do the work of informing and enticing.
Descriptions should go beyond listing ingredients — they should highlight what makes the dish special, including flavour, cooking style, or portion size. Aim for at least 40% of items including a description.
Labels
Adding labels to menu items helps customers quickly understand what they’re ordering. In the ‘Edit Menu Item’ window, the 'Labels' section allows you to tag items with dietary indicators (e.g., vegetarian, vegan) and spice levels. Use these wherever possible to improve clarity.
Categories
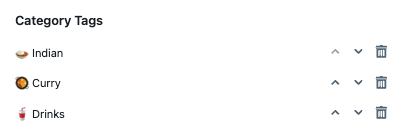
Categories help customers quickly understand what an outlet offers and are also searchable on the platform. The first three categories set in Redbox will appear on the outlet’s menu page, so ensure these reflect the outlet’s main offerings.
When assigning categories to a business, it’s best to select a limited number that broadly represent what they offer, rather than listing every individual item type.
All assigned categories appear in the categories bar on the customer-facing ordering app (unless hidden in Redbox Management). Using too many specific categories can make it harder for customers to navigate and find what they’re looking for. We recommend using broad, general categories to keep the experience simple and user-friendly.
You can reorder categories using the up/down arrows in the 'Category Tags' section on the 'Business Details' page.
Meal Deals
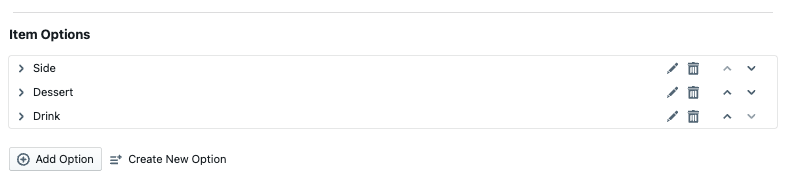
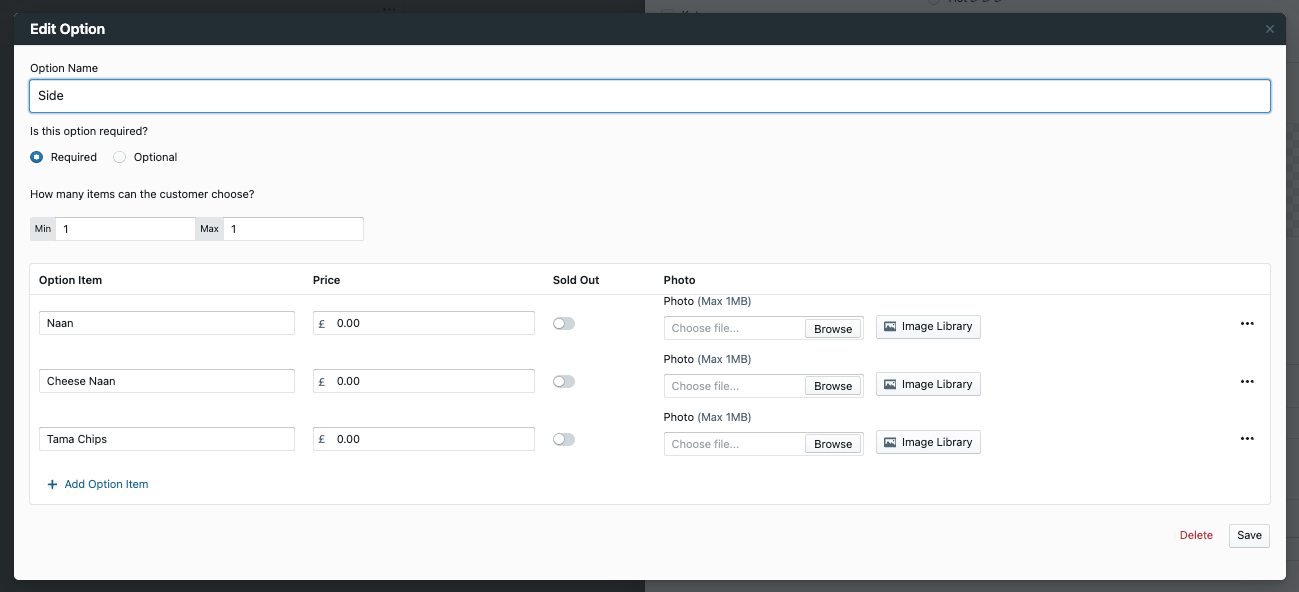
Including meal deals or promotions are a great way to try to increase average order value. To set up a meal deal, create a new menu item for the main dish and use options to add side items or extras.
-
Mark the options as 'Required'.
-
Include any additional costs as needed on specific options.
See the Business Menus / Product List Options guide for more information.
Review the ‘Meal Deals’ menu group on the Grace of Indian menu page, to see how this would present to the customer.
Buy One Get One Free
A ‘Buy One Get One Free’ menu group is a great way to drive sales and attract new customers - especially when it features some of your most popular dishes.
To set it up, simply create a new menu group and add a menu item for each offer. Then, use options to include the additional item at no extra charge (be sure to mark the option as Required).
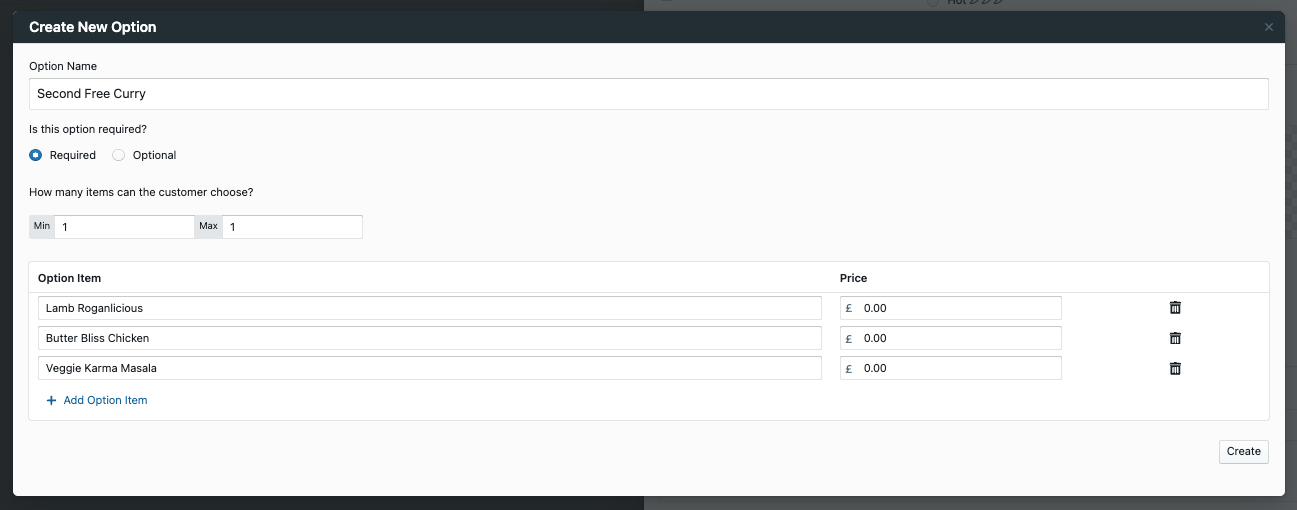
Review the ‘Buy One Curry Get One Free’ menu group on the Grace of Indian menu page, to see how this would present to the customer.
Highlighting Best Sellers
Your most popular items can be a great sales driver. Consider featuring them in a dedicated ‘Favourites’ or ‘Best Sellers’ menu group. Use the Reports / Sales by Product section in Redbox to review your bestselling items.
You could also run promotions (e.g. Buy One Get One Free) on best sellers to encourage repeat purchases.
Item Names
Menu item names appear on order receipts printed from the terminal, so they must clearly describe the item on their own - especially if menu grouping is not enabled.
For example, if a menu group is called ‘Tacos’ and the item name is simply ‘Beef’, the receipt will print only ‘Beef’, which could cause confusion in the kitchen. Instead, always use a full item name like ‘Beef Taco’.
Avoid adding unnecessary details, such as allergens (e.g. contains milk, wheat) in the item name. These should be placed in the menu item description, keeping the receipt clear and easy to read.
Grammar
Consistency in grammar and formatting enhances professionalism. Follow these simple guidelines:
-
Use Title Case for menu and item names (e.g. Lamb Biryani, not Lamb biryani or LAMB BIRYANI).
-
End all item descriptions with a full stop.
-
Keep formatting consistent (e.g. Samosas (4 Pcs) instead of mixing styles like Samosas (x4)).
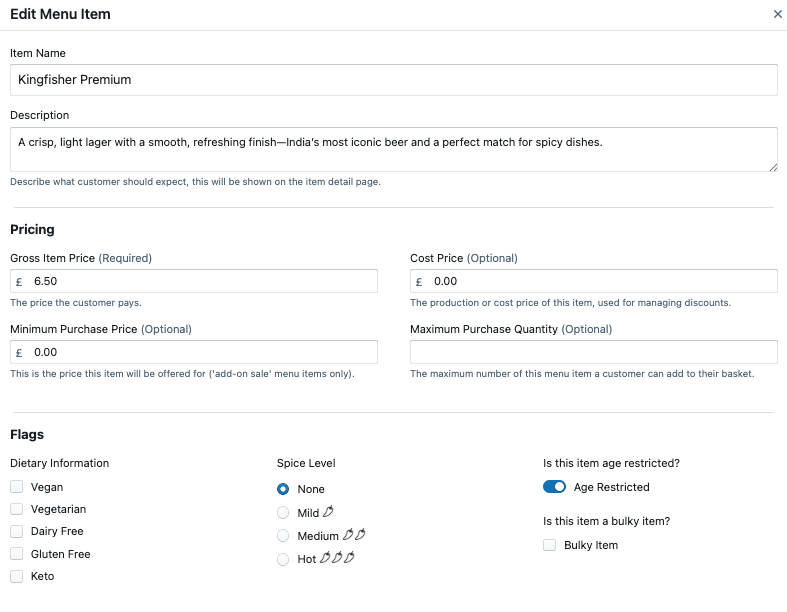
Alcoholic Items
Alcohol is allowed on your marketplace, but each item must have the ‘Age Restricted’ flag enabled. This can be found in the 'Edit Menu Item' window under the ‘Flags’ section. When enabled:
-
Customers are prompted to confirm they are over 18 at checkout.
-
A warning is printed on the receipt for the outlet to verify age upon delivery or collection.
Prohibited Items
Cigarettes, tobacco products and vapes are not permitted on our platform. Our payment provider classifies these items as high-risk items under their compliance policy, and unfortunately, allowing them on the platform would result in the business being blocked or restricted. We understand this may be disappointing, but it’s essential we operate within the requirements set by our payment partners to ensure uninterrupted service for all users.
Regular Menu Refresh
Just like a dine-in menu, your delivery menu benefits from regular updates. Refreshing your menu every few months - adding seasonal items, testing new dishes, or rotating promotions - keeps it exciting for customers. Monitoring performance data in Redbox will also help you see which dishes sell well and which may need replacing.